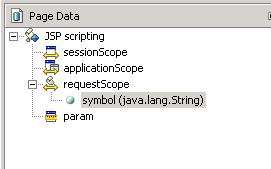
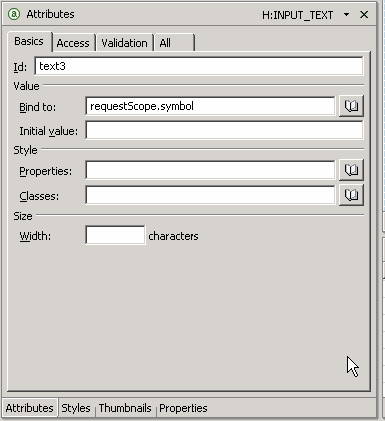
确保创建了 symbol 变量,并把输入框绑定到 symbol 变量。
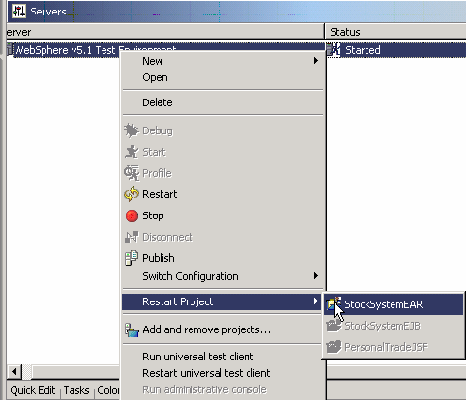
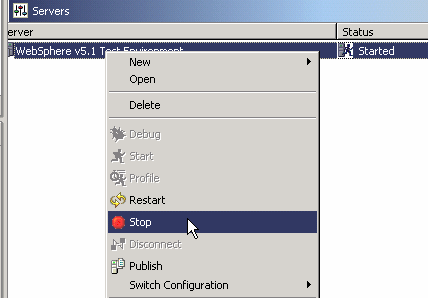
完成表单后预览并测试该页面。您将需要重新启动应用程序服务器。
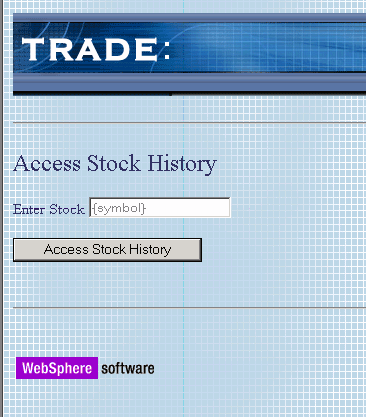
除标题之外,新页面看起来与先前创建的页面相似。
保存并关闭文件。
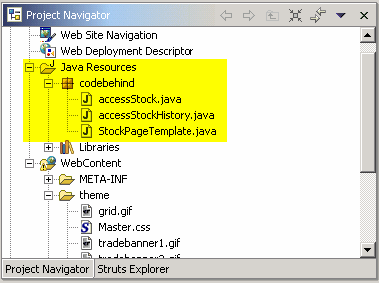
转到 project navigator 视图,然后展开 java resources 文件夹。在 codebehind 包下面,您将看到生成的与 jsp 页面相应的 java 代码。
另外,生成的每个 java 类是作为 jsf 管理的 bean 被添加的。打开 web-inf 文件夹中的 faces-config.xml 文件来检查文件,该文件的内容如清单 1 所示。
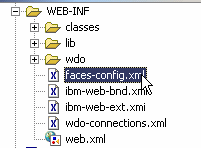
清单 1. faces-config.xml
<managed-bean>
<managed-bean-name>cb_stockpagetemplate</managed-bean-name>
<managed-bean-class>codebehind.stockpagetemplate</managed-bean-class>
<managed-bean-scope>request</managed-bean-scope>
</managed-bean>
<managed-bean>
<managed-bean-name>cb_accessstock</managed-bean-name>
<managed-bean-class>codebehind.accessstock</managed-bean-class>
<managed-bean-scope>request</managed-bean-scope>
</managed-bean>
<managed-bean>
<managed-bean-name>cb_accessstockhistory</managed-bean-name>
<managed-bean-class>codebehind.accessstockhistory</managed-bean-class>
<managed-bean-scope>request</managed-bean-scope>
</managed-bean>
完成后停止服务器。
结束语
在本系列文章的第 2 部分,我们已经成功地构建了两个 jsf 表单。在此过程中,我们也看到了 jsf 可视选项板如何方便地提供了用于构建开放且功能强大的 web 站点的 jsf 组件。在第 3 部分,我们将利用 web data object(wdo)技术(它是 websphere studio v5.1.1 的另一项预览技术。)来继续构建 stock history 页面的结果。

 闽公网安备 35060202000074号